Creating a Beautiful Looping Image Carousel with CSS and JavaScript

I am a Frontend Developer from India. I have 4+ years of experience in React JS, and I will continue to share beginner friendly blogs.
Creating a carousel with HTML, CSS, and JavaScript can be a fun and rewarding project for web developers. In this blog post, we'll explore the steps involved in creating a carousel and break it down into smaller tasks to make it easier to understand and implement.
This is what we will build
Pretty cool, huh?

Task 1: Creating a straight row with all the images lined horizontally centered
To start, we need a row of images that are horizontally centered. We can accomplish this by using CSS Flexbox. Here are the steps involved:
Create a
sectionwith the below styles, so that everything inside it is placed horizontally and vertically centered.section{ height:100%; display:flex; align-items:center; justify-content:center; }Create a container
divwith the classcarousel, which contains all the images. We will also make this a flex item, and give it a max-width (optional).<section> <div class="carousel"> <!-- Insert images here --> </div> </section>Set the justify-content property of the container div to "center" to center all the images horizontally.
Set the gap property of the container div to add some space between the images.
 .carousel {
   display: flex;
   max-width:1000px;
   gap:20px;
 }
Let's also add the
transitionto carousel, as we will need this for animating the slide effect. The classsliding-transitionwill be added and removed using Javascript..carousel.sliding-transition { transition: transform 0.5s ease-in-out; }
Task 2: Adding the Images
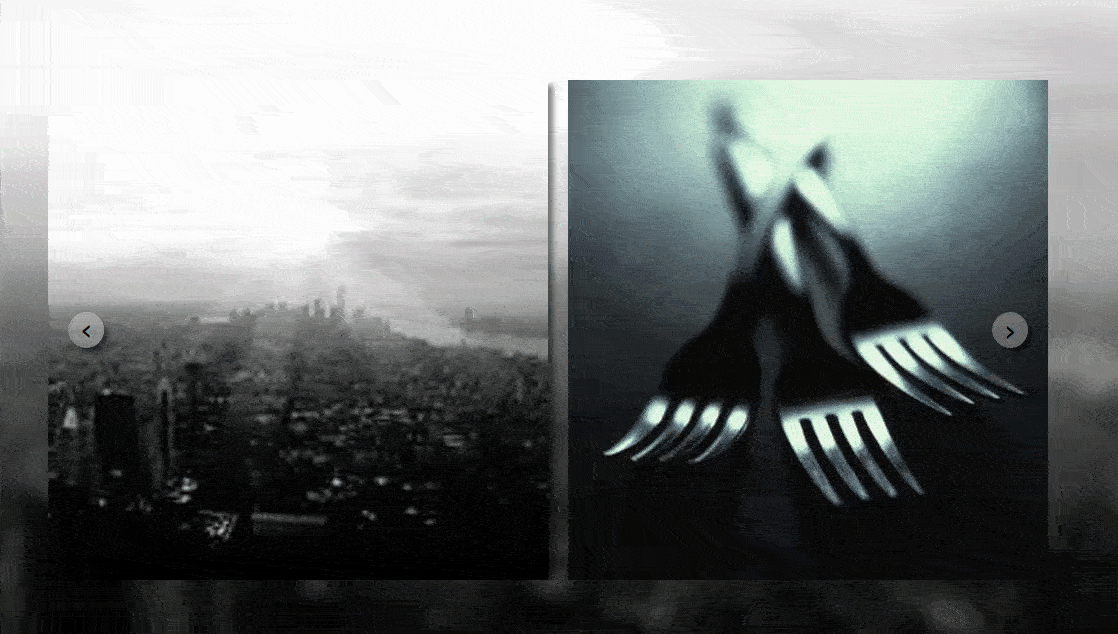
We will be using images from the free website picsum.photos (The Lorem Ipsum for photos.)
Add <img> inside the carousel, and give them a class
carousel-image<div class="carousel"> <img src="https://picsum.photos/id/23/500" alt="Image 1" class='carousel-image'> <!-- Rest of the images in similar fashion --> </div>Add any CSS you want, for styling the images. I will just go ahead with some box-shadow. (P.S. If you're facing problems with setting the width of the images, try using
flex-basisinstead.).carousel-image { -webkit-box-shadow: 5px 5px 5px 0px rgba(0, 0, 0, 0.5); -moz-box-shadow: 5px 5px 5px 0px rgba(0, 0, 0, 0.5); box-shadow: 5px 5px 5px 0px rgba(0, 0, 0, 0.5); }
Task 3: Adding the background image with the blur and other effects
To make the carousel visually interesting, we can add a background image with a blur effect. We will place the currently selected image as the background image itself. Here's how to do it:
Create an <img /> element with the class
bg-image.<section> <img ... class='bg-image' /> <div class="carousel"> <!-- images here --> </div> </section>Set the width and height of the image to 100% to make it fill the entire screen.
Add a blur effect using the CSS property
filterand set it toblur(8px).We will also put a
position: absoluteandinset:0so that the image is placed behind the carousel. Added some other CSS which are for styling the image..bg-image { position:absolute; inset:0; width:100%; height:100%; filter: blur(8px); -webkit-filter: blur(8px); transform:scale(1.1); object-fit:cover; }
Task 4: Designing the buttons for the left arrow and the right arrow
To allow users to navigate through the images, we need to create arrow buttons. Here's how to do it:
Create two buttons with the classes
left-arrowandright-arrow, witharrow-buttonbeing common.We need to position them
absolute, and for that, we will need a div withposition: relative.Create a div with class
carousel-containerwhich will contain the carousel and the buttons..carousel-container { position: relative; overflow: hidden; }<section> <img ... class='bg-image' /> <div class="carousel-container"> <div class="carousel"> <!-- images here --> </div> <button class="arrow-button left-arrow"></button> <button class="arrow-button right-arrow"></button> </div> </section>Set the top of the buttons to 50% and use the
transform: translateY(-50%)property to vertically center them.Give the buttons a circular shape using the
border-radiusproperty.These are the CSS used to add some extra look and feel.
 .arrow-button {
   padding: 0;
   position: absolute;
   top: 50%;
   transform: translateY(-50%);
   color: #000;
   cursor: pointer;
   background: rgb(255, 255, 255, 0.3);
   width: 36px;
   font-size: 28px;
   display: flex;
   justify-content: center;
   align-items: center;
   border: none;
   border-radius: 50%;
   aspect-ratio: 1;
   -webkit-box-shadow: 5px 5px 5px -2px rgba(0, 0, 0, 0.5);
   -moz-box-shadow: 5px 5px 5px -2px rgba(0, 0, 0, 0.5);
   box-shadow: 5px 5px 5px -2px rgba(0, 0, 0, 0.5);
 }
We will use Unicode to create the arrows :
‹and›. Put them inside a span, with a width and height of 100%;span { height: 100%; width: 100%; } .left-arrow { left: 20px; } .right-arrow { right: 20px; }<button class="arrow-button left-arrow"><span>‹</span></button> <button class="arrow-button right-arrow"><span>›</span></button>
Task 4: Creating the JavaScript to change the current image.
Bear with me, we are almost done. Phew!

These are all the initializations:
 const carousel = document.querySelector(".carousel");
 const backgroundImage = document.querySelector(".bg-image");

 const leftArrow = document.querySelector(".left-arrow");
 const rightArrow = document.querySelector(".right-arrow");

 let currentIndex = 0;
 let prevIndex;
 const images = document.querySelectorAll(".carousel-image");

 const totalImages = Object.keys(images).length;

 // const imageWidth = images[1].getBoundingClientRect().x;
 const imageWidth = 520;
I am using a constant value of image width of 520 pixels, since there were some issues with Javascript loading late and calculating the width incorrectly in CodePen. I have commented the ideal approach for calculating width using
getBoundingClientRect().P.S. 520 Since <img> is 500 pixels wide and the flex box has a gap of 20px.
Here's the Pseudo Code for the Right Arrow :
 1. When right arrow button is clicked, set prevIndex = currentIndex.
 2. Set currentIndex = (currentIndex + 1) % totalImages
 3. Now, to have the animation part, we will add the class `sliding-transition` to carousel.
 4. Move the carousel to the left by the width of one image using `translateX(-imageWidth pixels)`.
 5. Set the background image to the new current image.
 6. After the transition is completed:
    1. Move the prevIndex image to the end of `carousel` DOM.
    2. Remove the class `sliding-transition` from carousel.
    3. Remove the transform property as well, since we re-ordered the DOM.
By removing the transition class, we ensure that the transition only occurs when we want it to and that we have full control over the carousel's movement.
 rightArrow.addEventListener("click", () => {
   carousel.classList.add("sliding-transition");

   prevIndex = currentIndex;
   currentIndex = (currentIndex + 1) % totalImages;

   carousel.style.transform = `translateX(-${imageWidth}px)`;
   backgroundImage.src = images[currentIndex].src.slice(0, -3) + "1000";

   setTimeout(() => {
     carousel.appendChild(images[prevIndex]);
     carousel.classList.remove("sliding-transition");
     carousel.style.transform = "";
   }, 500);
 });
Now, here is the Pseudo Code for the Left Arrow (a tad bit more complex than the Right Arrow) :
1. When left button is clicked, set prevIndex = currentIndex. 2. Set currentIndex = (currentIndex - 1 + totalImages) % totalImages Why modulo? In case currentIndex = 0, we need to do modulo, so as to implement the cyclical images. 3. Move the carousel to the left by the width of one image using `translateX(-imageWidth pixels)`. 4. Move the currentIndex image to the beginning of `carousel` DOM. 5. Now, to have the animation part, we will add the class `sliding-transition` to carousel. 6. Now make the carousel move to the right by width of one image (basically setting `translateX(0)`), or you can remove the transform property as well. 7. Set the background image to the new current image. 8. After the transition is completed, remove the class `sliding-transition` from carousel. (This can be done using timeout matching the animation's duration)leftArrow.addEventListener("click", () => { prevIndex = currentIndex; currentIndex = (currentIndex - 1 + totalImages) % totalImages; // Move Carousel to the left by one image, and insert the image at currentIndex at the beginning of carousel's DOM carousel.style.transform = `translateX(-${imageWidth}px)`; carousel.insertBefore(images[currentIndex], carousel.firstChild); // Now, let's start the transition effect, from -520 px to 0 px. setTimeout(() => { carousel.style.transform = ""; carousel.classList.add("sliding-transition"); // Changing the background Image backgroundImage.src = images[currentIndex].src.slice(0, -3) + "1000"; }, 10); setTimeout(() => { // By removing the transition class, we ensure that the transition only occurs when we want it to and that we have full control over the carousel's movement. carousel.classList.remove("sliding-transition"); }, 490); });
Here's the CodePen if you want to see the full code and mess around with it.
In conclusion, creating a carousel involves using HTML, CSS, and JavaScript to position and animate a series of images. By breaking down the process into smaller tasks, we can make it easier to understand and implement.


